Screenshots on Chromebook is a hot topic. In today’s digital age, capturing screenshots has become an integral part of our daily routine, whether it’s for saving important information, sharing content, or troubleshooting. For Chromebook users, the ability to take screenshots is equally essential. But can a Chromebook take a screenshot? The answer is a resounding yes. In fact, capturing screenshots on Chromebook is a straightforward process.
How to capture Screenshots on Chromebook
Using Keyboard Shortcuts ?
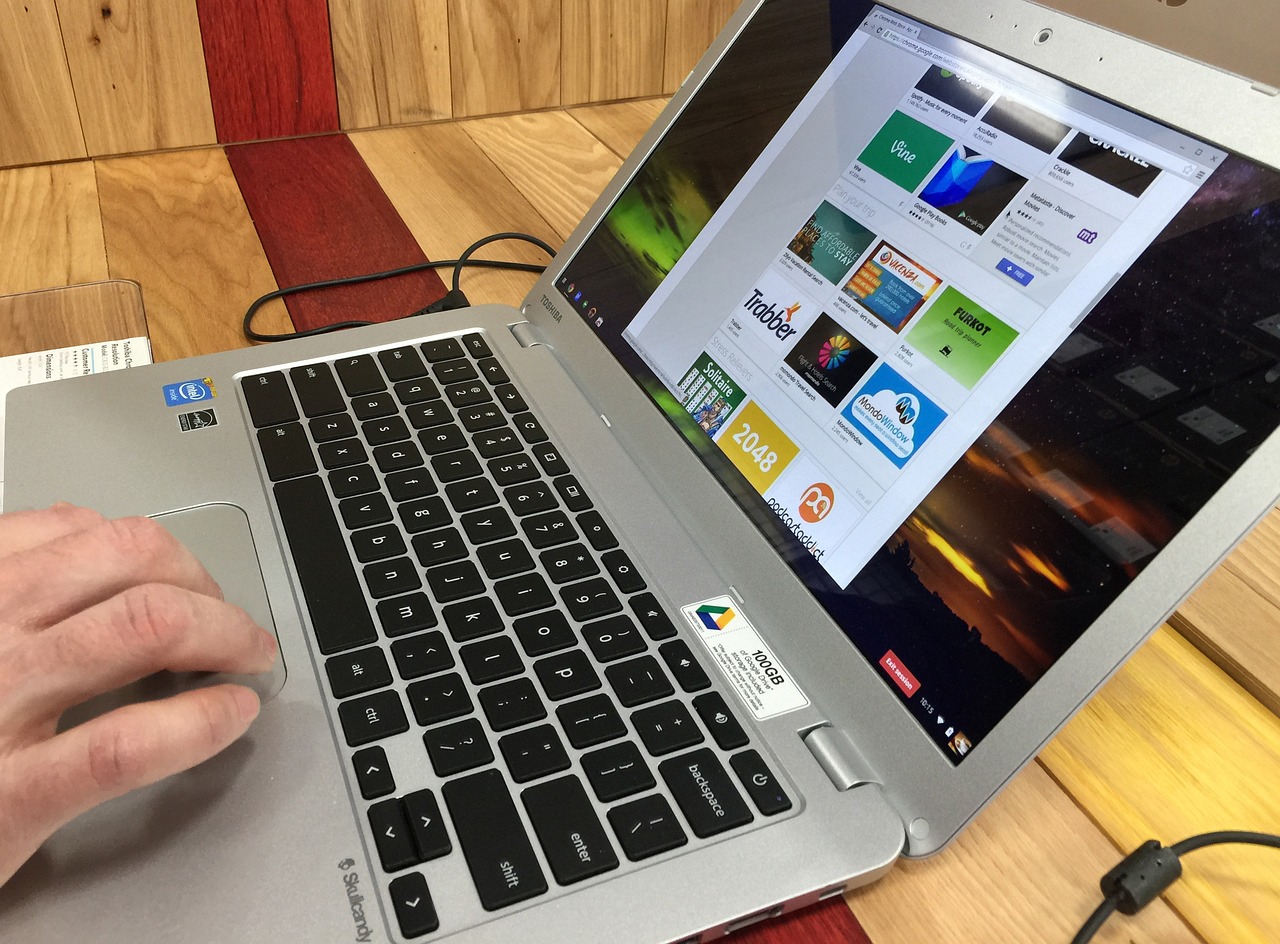
Chromebooks come equipped with convenient keyboard shortcuts to capture the entire screen, specific windows, or a selected portion of the screen:
- Capture Full Screen: Press the “Ctrl” and “Show windows” (or “F5”) keys simultaneously. The “Show windows” key typically looks like a rectangle with two lines on the right side and is located in the top row of keys.
- Capture a Specific Area: Press the “Ctrl,” “Shift,” and “Show windows” keys simultaneously. Your cursor will transform into a crosshair pointer, allowing you to select the area you want to capture. To choose the desired portion, click and drag.
- Using the “Overview” Mode
Alternatively, Chromebooks have an “Overview” mode that allows you to take a screenshot:
- Enter “Overview” mode by pressing the “Show windows” key (typically represented as a rectangle with two lines) or by swiping down with three fingers on the touchpad.
- Once in “Overview” mode, right-click on the window you want to capture and select “Take screenshot” from the context menu.
Saving and Accessing Screenshots
Upon capturing a screenshot, it is automatically saved in the “Downloads” folder by default. However, you can quickly access it by clicking on the notification that appears after taking the screenshot. From there, you can choose to save the screenshot in another location or edit it using various Chromebook-compatible photo editing applications available in the Chrome Web Store.
Conclusion
Chromebooks offer a hassle-free way to capture screenshots, providing users with multiple options to efficiently capture their screens. Whether it’s for work, education, or personal use, mastering the art of taking screenshots on a Chromebook is a useful skill that enhances productivity and facilitates seamless sharing of information.
In conclusion, yes, a Chromebook can take screenshots effortlessly, and with the simple shortcuts and tools provided, users can capture and manage their screen captures with ease.
With these easy methods at your disposal, you can efficiently capture and manage screenshots on your Chromebook, streamlining your workflow and enhancing your overall experience with the device.
Beyond Basic Screenshots: Additional Tips and Tricks / Utilizing Screen Capture for Various Purposes

1. Editing Screenshots:
After capturing a screenshot, you might want to edit or annotate it before sharing or saving it. Chromebooks offer various applications available in the Chrome Web Store, such as Lightshot, Nimbus Screenshot, or the built-in editor in the Files app. These tools allow you to crop, add text, arrows, or highlight specific areas on your screenshots.
2. Using Extensions:
Chrome Web Store extensions can further enhance your screenshot capabilities. Extensions like “Fireshot,” “Awesome Screenshot,” or “Clipular” provide additional functionalities like capturing entire web pages, scrolling screenshots, and more advanced editing tools.
3. Cloud Storage Integration:
Integrating your Chromebook with cloud storage services like Google Drive or Dropbox enables seamless saving and sharing of screenshots. Upon capturing a screenshot, you can directly save it to your preferred cloud storage for easy access across devices.
4. Taking Screenshots with Stylus or Touchscreen:
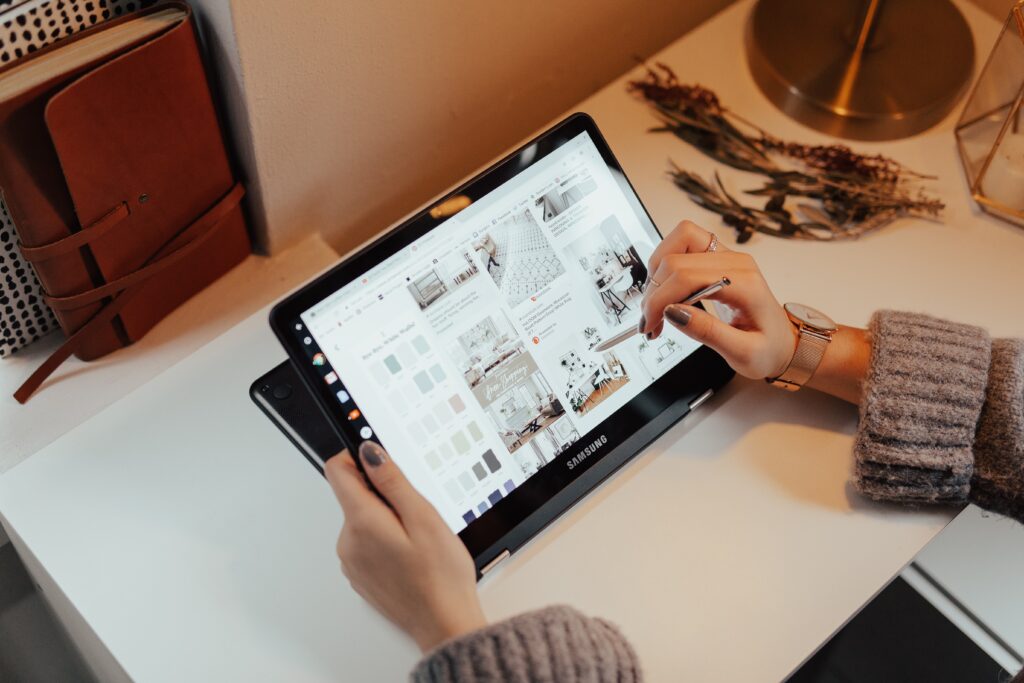
For Chromebooks equipped with a touchscreen or stylus, taking screenshots can be more interactive. Simply use the stylus to select and capture specific areas on the screen or use the touchscreen functionalities to navigate and capture content.
5. Capturing Screenshots in Tablet Mode:
For convertible Chromebooks or those with a tablet mode, the process of capturing screenshots might slightly differ. Typically, you can press the power button and the volume down button simultaneously to take a screenshot in tablet mode.
6. Sharing Screenshots:
Once you’ve captured a screenshot, sharing it with others is effortless. Chrome OS allows you to share your screenshots directly from the notification that appears after capturing the screen. You can share via email, messaging apps, or social media platforms.
7. Troubleshooting and Documentation:
Taking screenshots on a Chromebook is immensely helpful for troubleshooting technical issues or documenting step-by-step guides. For instance, if you encounter an error message, capturing the screen can assist when seeking support or sharing the problem with others for guidance.
Conclusion
Mastering the art of taking screenshots on Chromebook is not only about capturing your screen but also about utilizing the available tools and extensions to enhance your experience. Whether it’s basic screen captures or advanced editing and sharing functionalities, Chromebooks offer a versatile ecosystem for all your screenshot needs.
By understanding the various methods, shortcuts, and applications available, users can seamlessly capture, edit, and share screenshots, making their Chromebook experience more efficient and productive.
In summary, taking screenshots on Chromebook is a straightforward process, but with additional tools, extensions, and tips, users can elevate their screenshot game, allowing for greater flexibility and customization in capturing and managing their screen content.
Advanced Tips for Power Users
Command Line (Terminal):
For users comfortable with using the terminal or command line interface, Chrome OS allows access to Crosh (Chrome OS Developer Shell). With specific commands, you can take screenshots on Chromebook and customize the process to suit your preferences.
Customizing Keyboard Shortcuts:
Chrome OS offers the ability to customize keyboard shortcuts. If the default shortcuts for screenshots don’t suit your preference, you can customize them to your liking in the settings.
Exploring Chrome OS Updates:
Chrome OS frequently receives updates that might introduce new features or enhancements to the screenshot functionality. Staying updated ensures you’re aware of any new tools or improvements available for capturing screenshots on Chromebook.
Final Thoughts
In conclusion, the ability to take screenshots on Chromebook is an essential and user-friendly feature that caters to a wide array of user needs. Whether for work, education, troubleshooting, or sharing information, Chromebook users have a versatile set of tools and methods at their disposal to efficiently capture, edit, and share screenshots.
By mastering these various methods, exploring additional tools from the Chrome Web Store, and staying updated with the latest Chrome OS features, users can optimize their screenshot-taking experience, making their Chromebook a powerful tool for productivity and communication.
Taking a screenshots on Chromebook is just the beginning; exploring the different ways to use and manage those screenshots can significantly enhance your overall computing experience.
In summary, the Chromebook’s screenshot capabilities are robust, providing users with a range of options to capture, edit, and share their screen content seamlessly. Whether you’re a casual user or a power user, there’s a method or tool available to cater to your specific needs when it comes to taking screenshots on a Chromebook.
How to take screenshots on Chromebook touch screen.

Taking a screenshots on Chromebook with a touchscreen is relatively simple and can be done using a few different methods. Here’s a step-by-step guide:
Method 1: Using Physical Buttons
- Identify the Buttons: On most Chromebooks with touchscreen capability, the power button and volume down button work together to capture a screenshot.
- Press the Buttons Simultaneously: Locate the power button and the volume down button on your Chromebook. Press and hold both buttons simultaneously for a brief moment.
- Capture Confirmation: After a moment, you should see a brief visual indication or hear a sound confirming that the screenshot has been taken.
- Accessing the Screenshot: The captured screenshot will be saved in your “Downloads” folder by default. You can also view the notification that appears after capturing the screenshot to directly access or share it.
Method 2: Using Touch Gestures
Chrome OS also supports touch gestures to capture a screenshot on a touchscreen Chromebook.
- Navigate to the Screen: Display the content you want to capture on your Chromebook’s screen.
- Swipe Down Gesture: With your finger or stylus, swipe down from the top of the screen. This action should initiate the screenshot capture process.
- Screenshot Confirmation: Similar to using physical buttons, you’ll receive a visual confirmation or hear a sound indicating that the screenshot has been successfully taken.
- Accessing the Screenshot: As with the previous method, the captured screenshot will typically be saved in the “Downloads” folder or accessible through the notification that pops up after the screenshot is taken. You can Contact Us for references and other details.
Additional Tips:
- Touch and Hold Method: Some Chromebooks allow you to touch and hold the screen with one finger while tapping with another finger to capture a specific area of the screen.
- Check Settings: If these methods don’t work, ensure that your Chromebook’s settings haven’t been customized to use different shortcut combinations for capturing screenshots.
Taking a screenshots on Chromebook with a touchscreen is a convenient way to capture and save information or share content with others. By following these steps, you should be able to easily capture screenshots using either the physical buttons or touch gestures on your touchscreen-enabled Chromebook.

Frequently Asked Questions (FAQs)
Q: How do I know if my Chromebook supports touchscreen screenshot capture?
A: Most modern Chromebooks equipped with touchscreens support capturing screenshots using touch gestures. However, it’s recommended to check your Chromebook’s specifications or user manual to confirm its touchscreen capabilities.
Q: Are there alternative methods to capture screenshots on a touchscreen Chromebook if the standard methods don’t work?
A: If the standard methods (using physical buttons or touch gestures) don’t work, you can explore alternative options such as using Chrome extensions from the Web Store specifically designed for capturing screenshots.
Q: Can I edit or annotate screenshots taken on a Chromebook with a touchscreen?
A: Yes, after capturing screenshots on Chromebook, you can use various apps available in the Chrome Web Store that offer editing, annotation, or markup features. These tools allow you to enhance or add elements to your captured screenshots.
Q: Where are the screenshots saved by default on a touchscreen-enabled Chromebook?
A: By default, screenshots on Chromebook are usually saved in the “Downloads” folder. However, you can change the default save location or access the screenshots directly through the notification that appears after capturing the screenshot.
Q: Are there any limitations to taking screenshots on a Chromebook with a touchscreen?
A: While capturing screenshots on a touchscreen Chromebook is generally straightforward, certain apps or websites might have restrictions that prevent screenshots from being taken due to security or copyright concerns.
Q: Can I take partial or selected area screenshots using touch gestures on a touchscreen Chromebook?
A: Typically, Chromebooks with touchscreens allow users to capture the entire screen using touch gestures. However, for capturing specific or selected areas, using the physical buttons might be more effective.
Q: How can I share screenshots taken on a touchscreen Chromebook with others?
A: After capturing a screenshot, you can easily share it by accessing the notification that appears or by navigating to the saved screenshot in the “Downloads” folder. From there, you can share it via email, messaging apps, or by uploading it to cloud storage.
Q: Are there any recommended apps or extensions for enhancing the screenshot-taking experience on a touchscreen Chromebook?
A: Yes, the Chrome Web Store offers various apps and extensions like Lightshot, Nimbus Screenshot, or Awesome Screenshot that provide additional functionalities and editing tools for screenshots on Chromebooks.
Q: Can I capture a screenshot of a specific window on a Chromebook?
A: Yes, using the keyboard shortcuts “Ctrl” + “Show windows” allows you to capture an individual window.
Q: Are there third-party apps that offer more advanced screenshot features?
A: Absolutely. Many third-party apps available in the Chrome Web Store provide additional functionalities beyond the default screenshot options.
Q: Can I capture a scrolling screenshot on a Chromebook?
A: While the default Chrome OS doesn’t provide this feature, certain extensions like “Fireshot” offer the ability to capture scrolling screenshots.

